Step-by-Step Guide
Getting Started with McDaniel WordPress
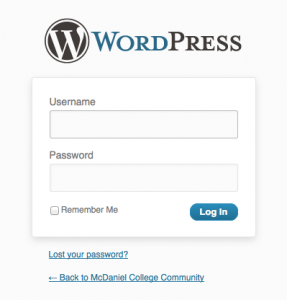
1. Click Log in under Site Links (on the McDaniel College Community home page) and type in your McDaniel username and password.
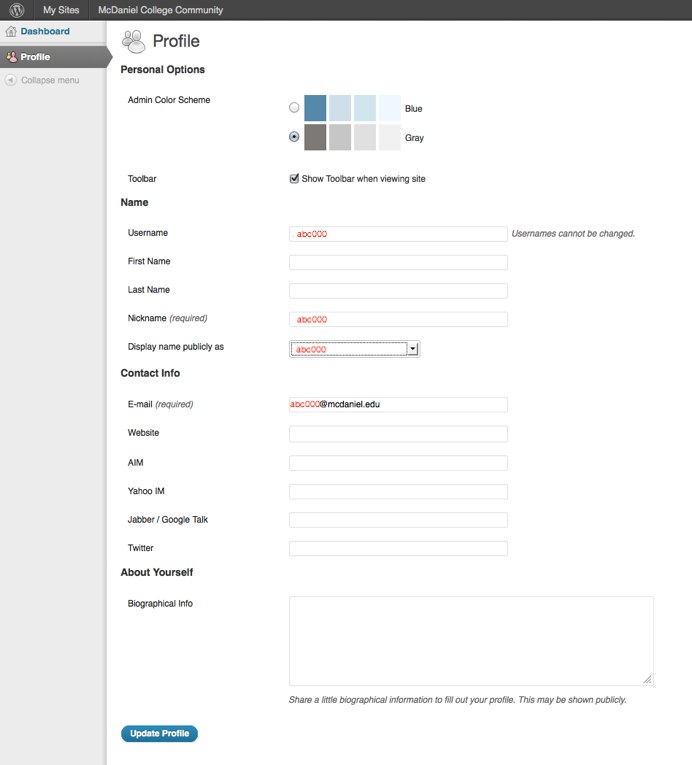
This takes you to your profile page. Make any changes that you want here. You can come back and edit it at any time. Your username is the only thing that you cannot change.
2. Click the Update Profile button when done.
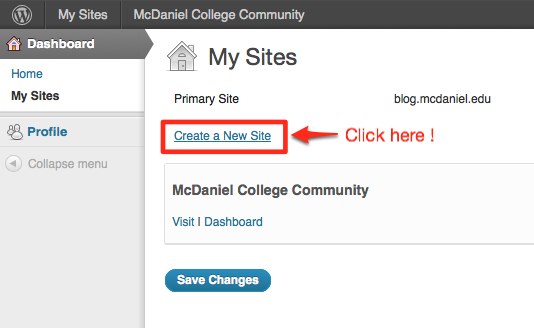
3. To create a site: Choose My Sites>Create a New Site
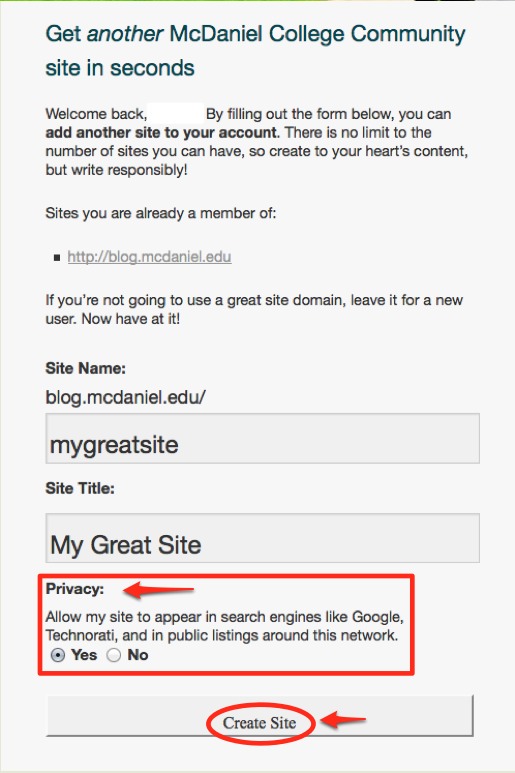
WordPress will send you to a “Welcome back” page. Since you are automatically a member of the McDaniel Community site, WordPress invites you to add another site to your account.
4. Type in a Site Name and Site Title. For example,
Site Name: mygreatsite (lowercase—appears in your url as blog.mcdaniel.edu/mygreatsite)
Site Title: My Great Site (appears on your blog or site pages)
You can also choose whether your site is visible in search engines such as Google.
5. Click the Create Site button when finished.
Log in to your site and get started! If you are new to WordPress take a look at the how-to links found on the Welcome page. Also, be sure to check out the FAQ page.


